.

.

.

.

Saturday, 7 October 2017

Happiness || Scrapbook Layout || Cocoa Vanilla Studio 'Wild At Heart'

Hi all,

I have a layout to share today using the Wild At Heart collection by Cocoa Vanilla Studio, as well at the Gypsy Gypsy paper pad by Craft Consortium.

I chose to use a generic selfie of Nathan and I. I noticed there is a little green in the photo which perfectly matched this butterfly print paper.


I wanted to find a new way of using chipboard frames so I cut squares of watercolour print paper and squares of rub ons and then stuck the frames on top.
Of course I had to use gesso and the packaging technique on the background too.

Thanks for stopping by!
Emily xx

Tuesday, 3 October 2017

5 Projects Using... Simply Creative Enchantment


Here are 5 projects using the Simply Creative 'Enchantment' papers from Trimcraft. There are instructions on how to make them below each picture.


This card is perfect for a little girl! The bows around the wand untie so the wand can be removed and played with. (I wish I knew a little girl to send this to!)

  1. Cut 2 stars from acetate. Stick together with 3D foam tape around most of the edge. 
  2. Through the gap, add sequins. Seal the gap.
  3. Cut a star the same size from patterned paper and cut an aperture in the middle. Stick on top of the shaker element.
  4. Stick to a paper straw. Cut the straw down so the wand will fit on a tall card blank.
  5. Take a tall card blank and cover with patterned paper.
  6. Place the wand onto the card. At the top and bottom of the straw, cut a slit either side using a craft knife.
  7. Thread ribbon through the slits and around the wand and tie in a bow. 
  8. Embellish the rest of the card.

  1. Stamp designs in black ink onto adhesive cork and cut out.
  2. Die cut small doilies and stick the cork onto them.
  3. Cut a strip from 6x6" patterned paper and mount onto another piece and trim, leaving a thin border.
  4. Stick to a 6x6" piece of paper and then onto a card blank.
  5. Cut a doily in half and stick on either side of the strip.
  6. Stick the cork pieces in a diagonal.
  7. Finish with adhesive gems.


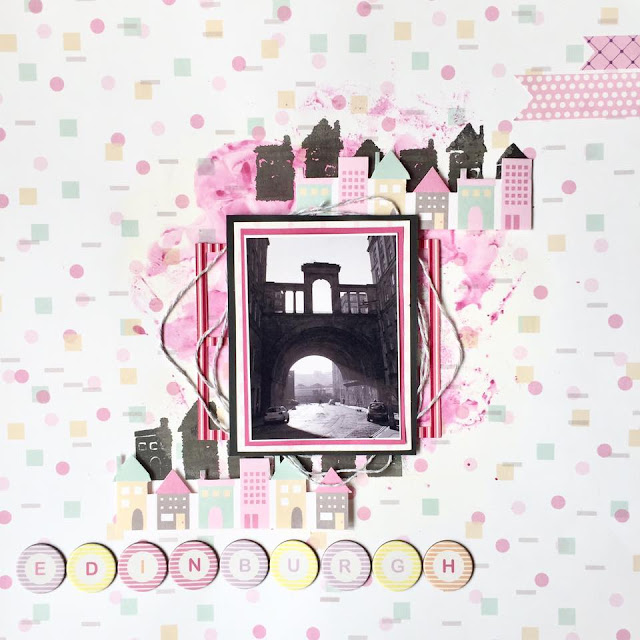
  1. Fussy cut houses from patterned paper. Draw around them onto foam and cut out, drawing on the windows.
  2. Add a small piece of tape to each foam piece and attach to a stamping block.
  3. Stamp patterns along a 12x12" page using the foam shapes in black ink.
  4. Fussy cut strips of house and stick below and to one side of the stamped rows using 3D foam.
  5. Print your photo at 3x4" and mount. Add twine behind.
  6. Cut up some film strips and stick behind the layered photo.
  7. Add two pieces of pennant to the top right of the page.
  8. Add a title on the bottom right of the page.


  1. Die cut 6 doughnuts.
  2. Use a ruler to rip strips of patterned paper. Stick two strips to a 12x12" page.
  3. Stick the 6 doughnuts down the page, and add lengths of washi tape and ribbon.
  4. Print your photo at 3x4" and mount with patterned paper and a doily. Stick down.
  5. Die cut your title and stick down.
  6. Finish with an emoji stamp and sequins.


  1. Use a doily die with unicorn print paper. Die cut a larger doily and stick the smaller one on top.
  2. Stick both onto the top left of a large doily. Add a sentiment too.
  3. Stick a die cut tag behind this and add a piece of ribbon through it.
  4. Stick to a 14cm square of patterned paper and then stick to a 6x6" card blank.
  5. Finish with an accordion flower.

Thanks for stopping by!
Emily xx