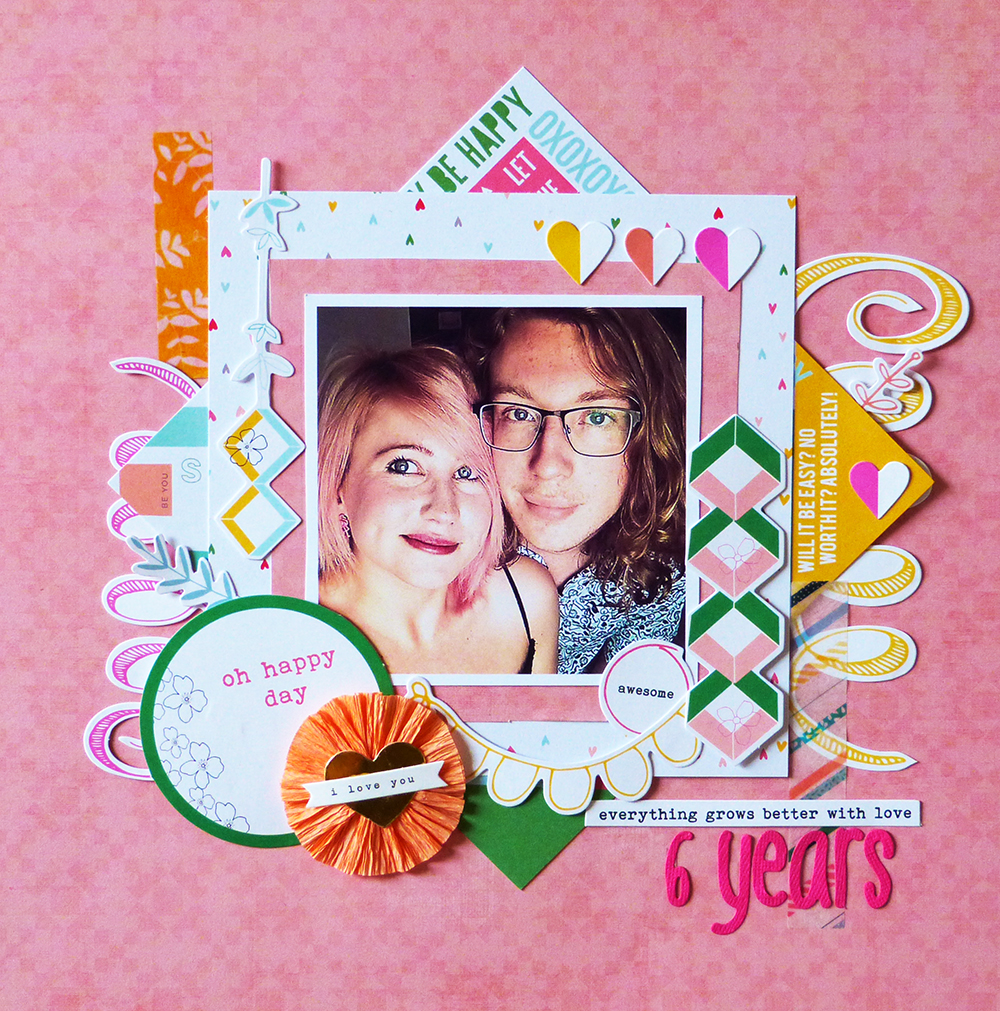
A little step by step tutorial to share today on how to use stitching in your layouts.
Don’t worry if you don’t have a sewing machine, you can use a needle and thread, it will just take a little longer.
Here's the layout I made (using the 'Felicity' collection by Pinkfresh Studio)

To start with I cut two centimetres off the top and a side of a sheet of white cardstock so I can mount it onto a sheet of 12x12” later on.
I then measured an inch from the edge of the paper as a
guide for my stitching. I selected colours I wanted and set up my sewing
machine.
With each colour, go around the square. The line you drew is
only a guide, it looks better if you wave the stitching a little, that way all
the colours show up.
Now spatter inks over the paper.
I die cut some hearts for a layout I made last week and I
have some left over so I stitched them onto paper.
For this layout I cut 4x4” squares from patterned paper. To save
paper though, for the bits that are behind, I cut a minimal amount as this
wouldn’t be seen.
The picture I’m using is of Nathan and me at Chester Zoo, I
set my camera up on the timer on a sculpture and then ran to join Nathan... I
figured it was a nice change from taking selfies all the time.
I added some washi stickers and ephemera...
and finally stuck the layout onto patterned paper, from the ‘Shine’
pad by Maggie Holmes.
Thanks for stopping by!
Emily xx